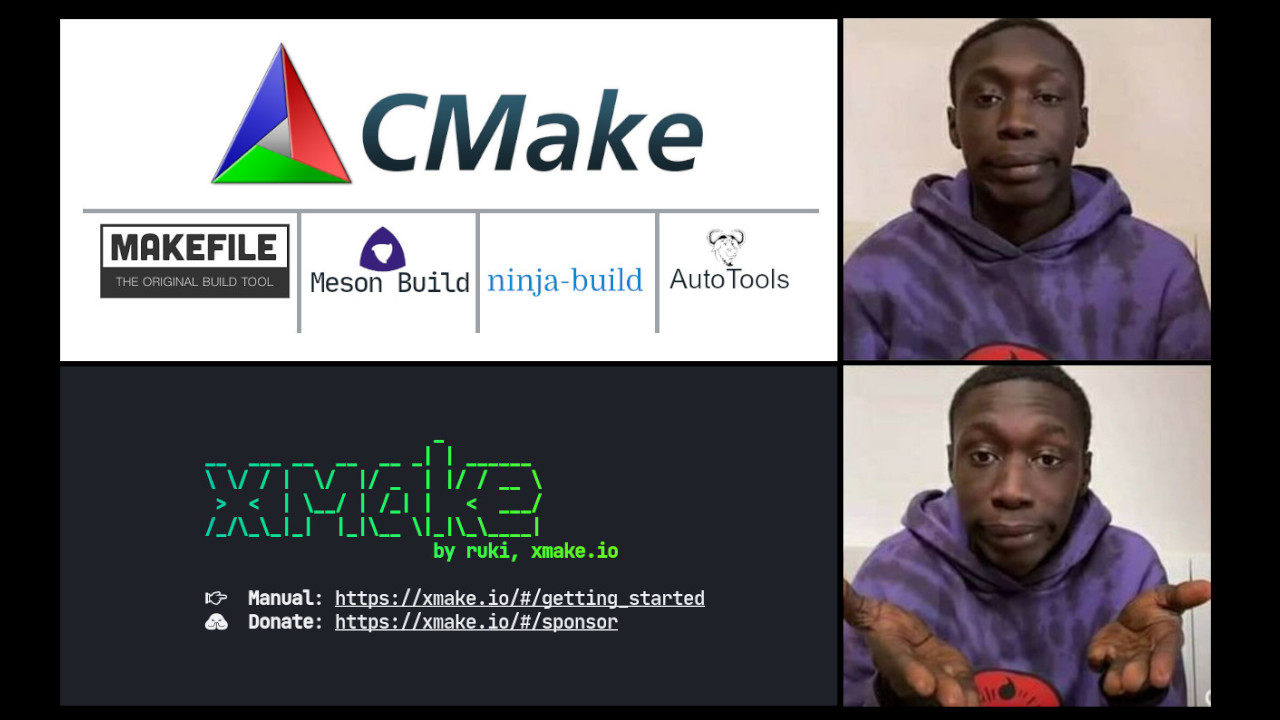
A Lua-based cross-platform build utility. Which also works for other programming languages like: Rust, Go and others.
Introduction
xmake is a binary building tool for C and C++ languages with configuration files created with the Lua programming language.
xmake is simple, fast, light and has several tools included that facilitate the installation of binaries and has been adopted very quickly by programmers.
It has support for architectures: x86 64 and 32-bit, arm64, cross-toolchains and others. And also support for several operating systems, such as:
- Windows (x86, x64)
- macOS (i386, x86_64, arm64)
- Linux (i386, x86_64, cross-toolchains ..)
- BSD (i386, x86_64) asterisk
- Android (x86, x86_64, armeabi, armeabi-v7a, arm64-v8a)
- iOS (armv7, armv7s, arm64, i386, x86_64)
- WatchOS (armv7k, i386)
- MSYS (i386, x86_64)
- MinGW (i386, x86_64, arm, arm64)
- Cygwin (i386, x86_64)
- Wasm (wasm32)
- Cross (cross-toolchains ..)
It also supports the varied list of toolchains, such as:
- Go Programming Language Compiler
- Zig Programming Language Compiler
- Rust Programming Language Compiler
- nasm NASM Assembler
- emcc A toolchain for compiling to asm.js and WebAssembly
- icc Intel C/C++ Compiler
And among others!, plus many additional features!
In several tests performed it performed faster than ninja and cmake .
Installation
It is very easy to install xmake and there are several ways. The simplest is accessing the xmake website: https://xmake.io and note that you can install without sudo permission with:
- cURL:
bash <(curl -fsSL https://xmake.io/shget.text)- Wget:
bash <(wget https://xmake.io/shget.text -O -)- PowerShell:
Invoke-Expression (Invoke-Webrequest 'https://xmake.io/psget.text' -UseBasicParsing).ContentThis way of installation is more interesting for you to inform in a README.md for the user to install quickly and easily to compile some project of yours that uses xmake.
But this way, despite working very well, limits the use of some xmake parameters, for example parameter: install.
So let’s install via Git for that we’ll need compile-time dependencies:
Now let’s clone the repository (in the upper right corner of the site there is a link):
git clone https://github.com/xmake-io/xmake
Enter the directory and install the submodule for LuaJIT:
cd ./xmake
git submodule update --init
After finished let’s run:
make buildAt the end we will install:
sudo make installNow let’s create the autocomplete for the xmake command:
./scripts/get.sh __local__ __install_only__Now let’s clean the files:
- 1st. the last command in addition to creating an autocomplete in our home directory at:
~/.xmake/profilealso installs a binary in~/.local/bin, as we installed on the system we don’t need it and if you have this path in your$PATHvariable will cause some problems, so let’s remove it:
rm ~/.local/bin/xmake- And let’s remove the repository directory:
CD ..
rm -rf xcode/
To make sure the autocomplete runs too:
source ~/.xmake/profile
#1. Basic build from scratch
To get started, let’s look at the most basic way to use xmake.
Let’s create a directory of an example project, enter it and create the file: main.cpp:
mkdir my-project
nvim main.cpp
With the following content:
#include <iostream>

int main(){
  std::cout << "Hello xmake!" << '\n';
  return 0;
}
Now let’s create the Lua xmake configuration file: nvim xmake.lua and inside it we’ll fill it like this:
target("hello-world")
    set_kind("binary")
    add_files("./main.cpp")
To compile:
xmakeRotate:
Parameters auto-complete
xmake run hello-worldOr just:
xmake run
If you want to install the binary just run the command:
sudo xmake installAlso autocomplete.
The binary will be copied to the default directory: /usr/local/bin.
And then just run the binary:
hello worldTo uninstall, just run:
sudo xmake uninstall#2. Basic AUTOMATIC Build
If you find it laborious to create the project files by hand, there is also an option for you to hand over all that work to xmake. For that, let’s remove this [my-project] that was just an example and let’s recreate it dynamically
Exiting and removing:
CD ..
rm -rf my-project
And now let’s create the project dynamically:
xmake create my-projectIf you do not enter the name, but have it inside your project’s name directory, a subdirectory of the same name will be automatically created.
Now let’s go into the directory and notice that everything is ready, if you want to open the files to see the content.
So let’s build:
xmakeAnd now instead of installing, let’s automatically generate a Makefile for our project:
xmake projectWe can also generate configuration files for other cross platform tools like ninja and cmake, for example by creating a CMakeLists.txt:
xmake project -k cmakeWe can run make clean and then just make to build: make . If we run xmake package it will generate a package from our binary and from here we can also query the command history, for example, if we run xmake show it will display our project data and then we can query the command history rounds:
cat .xmake/linux/x86_64/cache/history#3. Compiling multiple files
Just create xmake.lua and add the files:
target("multiple")
  set_kind("binary")
  add_files("main.cpp")
  add_files("project.cpp")
Then just run:
xmakeandxmake run
4.1 Compiling for Ncurses
mkdir windows && cd windowsLet’s use the example of this link: https://terminalroot.com.br/ncurses/#8-janelas . Thexmake.luawill look like this:
add_rules("mode.debug", "mode.release")
add_requires("ncurses")

target("window")
  add_packages("ncurses", {links = "ncurses"})
  add_ldflags("-ltinfo", {force = true})
  set_kind("binary")
  add_files("main.cpp")
Here:
./windows/:xmake && xmake run
4.2 Compiling for Gtkmm
According to the Gtkmm series we made, I updated the repository and the README, that is, just go there, read the README and see the file: xmake.lua:
The xmake.lua file from this repository corresponds to the Makefile(which we created in the Gtkmm series videos):
If you need to install files like
.md.desktop- Images
Use, examples:
add_installfiles("src/*.h")
add_installfiles("doc/*.md")
#5. Compiling for Rust
pub fn main() {
    println!("Compiling Rust with xmake!!!");
}target("bin-rust")
set_kind("binary")
add_files("./main.rs")xmake
xmake run <TAB>In addition to several other programming languages as we said.
6. Create a template for Doxygen
xmake create my-project
cd my-project
xmake doxygen
7. Compiling for iPhone
xmake create iphone
cd iphone
xmake config -p iphoneos
8. Rotating Moon
Via command line:
xmake lua -c "print('Hello, Lua via xmake')"Running in a subshell:
xmake luaprint(89 + 11)
os.exit()9. Using menu
xmake config --<TAB>|--menu#10. Getting more information from commands
xmake<TAB>` and `xmake --<TAB>
xmake --help
Watch the video
The video is in Portuguese, but you can see the commands as they are universal!
Conclusion
It is a modern and very interesting and promising tool that is worth using.
For more information visit the website and explore the documentation.


