In the world of game development, finding the right tools can be a real differentiator in turning your ideas into reality.
Python, with its simple and powerful syntax, is a popular choice among developers of all experience levels.
When combined with the versatility of Raylib, a lightweight and user-friendly game development library, the potential for creating amazing games becomes even greater.
In this article, we’ll explore how Python and Raylib can be used together to create engaging games, offering hands-on insight from setting up your development environment to creating your first project.
Installation and Configuration of the Environment
To install just use Pip with the following command:
pip install raylib-pyIf your system presents any criticism during installation, it is probably because it adopts some security policies and you need to install it in a virtual environment.
To do this, run the commands below in order:
mkdir -p ~/.local/bin/venv
python -m venv ~/.local/bin/venv
. ~/.local/bin/venv/bin/activate
Now install it in the virtual environment that was started:
pip install raylib-pyFirst basic project
Still in your virtual environment, if necessary, create a file with any name, for example, main.py and insert the content below:
from raylibpy import *
def main():
init_window(800, 450, "raylib [core] example - basic window")
set_target_fps(60)
while not window_should_close():
begin_drawing()
clear_background(RAYWHITE)
draw_text("Congrats! You created your first window!", 190, 200, 20, BLACK)
end_drawing()
close_window()
if __name__ == '__main__':
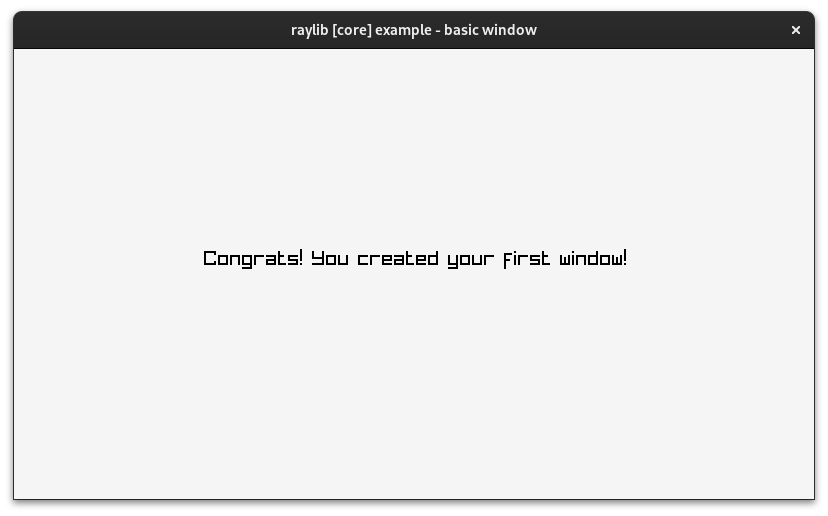
main()And run:
python main.pyIf a window similar to the one in the image below appears, everything is ok!
If you are in a virtual environment, to exit, run:
deactivateThe libs you install in this environment only work in this environment! Enter it whenever you develop.
For more information, visit the Raylib-Py repository.