This is the third episode of the series All about Neovim with Lua if you haven’t read the previous ones, follow the links:
- All about Neovim with Lua - How to Customize from Zero
- From init.vim to init.lua - All about Neovim with Lua
First of all, let’s organize our files and define all the settings (based on mine I use daily).
The lua/tools.lua file was just an example, so we can already remove it and the lua/settings.lua file we will put inside a directory named configs/ that we will create to be more organized.
Clean your init.lua first to not show errors:
cd ~/.config/nvim
cat /dev/null > init.lua
Now let’s prepare the environment
rm lua/tools.lua
mkdir -p lua/configs
mv lua/settings.lua lua/configs/
Now open init.lua and insert this content:
require("configs.settings")You could also use it like this:
require("configs/settings")
Now use my settings.lua or modify it however you like:
nvim lua/configs/settings.lua
vim.cmd([[ set encoding=utf8 ]])
vim.cmd([[ set nu! ]])
vim.cmd([[ set mouse=a ]])
vim.cmd([[ set wildmenu ]])
vim.cmd([[ set confirm ]])
vim.cmd([[ set incsearch ]])
vim.cmd([[ set title ]])
vim.cmd([[ set t_Co=256 ]])
vim.cmd([[ set shiftwidth=2 ]])
vim.cmd([[ set softtabstop=2 ]])
vim.cmd([[ set expandtab ]])
vim.cmd([[ set shiftwidth=2 ]])
vim.cmd([[ set softtabstop=2 ]])
vim.cmd([[ set expandtab ]])
vim.cmd([[ set guicursor= ]])
vim.cmd([[ set cursorline ]])
vim.cmd([[ syntax on ]])
Note: You can also use a single
vim.cmdto run all the settings, but this has no impact on performance.
Most of these settings for those who use Vim already know what it is, if you don’t know see this article . Then close and reopen your Neovim to see the changes, we’ll change just 3 more lines of that file when we install a color theme!
Installing packer.nvim
packer.nvim is a plugin that installs plugins! It is similar to plugins like vim-plug and Vundle that are used in Vim.
Its differential is that it was entirely written in Lua in addition to using resources from LuaJIT to compile and features plugin update, removal, more accurate and detailed UI interfaces. For all his resources see the repository .
It installs plugins written in both Lua and VimScript and runs normally!
To install, just run this command:
Note: You need to have Git installed.
For Unix and GNU/Linux systems
git clone --depth 1 https://github.com/wbthomason/packer.nvim\
 ~/.local/share/nvim/site/pack/packer/start/packer.nvim
Copy and paste to your terminal and press [ENTER]
After cloning now, let’s create a new directory inside lua/ and let’s create two new files with the contents that we will indicate.
Create the sub directory:
mkdir -p lua/pluginsCreate and open the file that will hold the packer installations:
nvim lua/plugins/plugins.luaAnd insert this content inside:
vim.cmd [[packadd packer.nvim]]

return require('packer').startup(function()
  use 'wbthomason/packer.nvim'
  use 'terroo/vim-simple-emoji'
  use 'navarasu/onedark.nvim'
end)
The use function determines which plugins will be used/handled.
Note that packer.nvim handles itself and we take the opportunity to start it by installing two new plugins:
- vim-simple-emoji(plugin created by myself using VimScript, in the future I plan to create the version with Lua);
- onedark.nvim the color theme, written in Lua, but you can install one of your liking.
packer.nvim has the following commands:
:PackerCompile- Generates the compiled file in:~/.config/nvim/plugins/packer_compiled.lua(Note that this is a plugins directory at the root ofnvimand not inside theluadirectory.PackerClean- Removes all disabled or unused pluginsPackerInstall- Installs or Cleans up missing pluginsPackerUpdate- Cleans, updates and installs pluginsPackerSync- Same as runningPackerUpdateand thenPackerCompilePackerLoad- Loads theoptplugin immediatelySome plugins can be installed in the
optfolder in~/.local/share/nvim/site/pack/packer/optinstead ofstartin the same path. For that you need to inform the table{ source = opt }for theusefunction.
Now just open your init.lua at the root of your Neovim’s configuration directory and add this line:
require("configs.settings")
require("plugins.plugins") -- To read packer.nvim
Now close and open init.lua again and run the command:
:packerinstallIt saves the files in the directory:
~/.local/share/nvimand the plugins are in the subdirectory:site/pack/packer/start.
And once you finish run: :PackerCompile. You can automate :PackerCompile for every time there are new installs, if you want to add this line to your settings.lua:
vim.cmd([[
  augroup packer_user_config
    autocmd!
    autocmd BufWritePost plugins.lua source <afile> | PackerCompile
  augroup end
]])
It will install the plugins and we can already use them! To activate the color theme open the file: nvim lua/configs/settings.lua and add these 3 lines to the end:
vim.cmd([[ set bg=dark ]])
vim.cmd([[ set termguicolors ]])
vim.cmd([[ colorscheme onedark ]])
When closing open any file (Ex.:
nvim main.cpp) and notice a nicer look! 😃
If you want an even darker background change the line in settings.lua that has this content: vim.cmd([[ colorscheme onedark ]]) with this:
vim.cmd([[
  let g:onedark_style = 'darker'
  colorscheme onedark
]])
For more “sub-themes” tips from onedark.nvim (in addition to darker) see the repository.
To use vim-simple-emoji see the tips in the repository.
Installing Telescope.nvim
Telescope.nvim is the latest, it is a better alternative to fzf.
It has a modern interface and serves to: Find, filter, view, select and open files simply and quickly. It was also written entirely in Lua.
To install it, add this line to the file: plugins/plugins.lua
use {
  'nvim-telescope/telescope.nvim',
  requires = { {'nvim-lua/plenary.nvim'} }
}
Note that
nvim-telescopehas a dependency onnvim-plenaryso we usepacker.nvim’s own settings for this!
The new plugins.lua settings will look like this:
vim.cmd [[packadd packer.nvim]]

return require('packer').startup(function()
  use 'wbthomason/packer.nvim'
  use 'terroo/vim-simple-emoji'
  use 'navarasu/onedark.nvim'
  use {
    'nvim-telescope/telescope.nvim',
    requires = { {'nvim-lua/plenary.nvim'} }
  }
end)
Close and open Neovim and run the command: :PackerInstall. After closing and opening again, run the command:
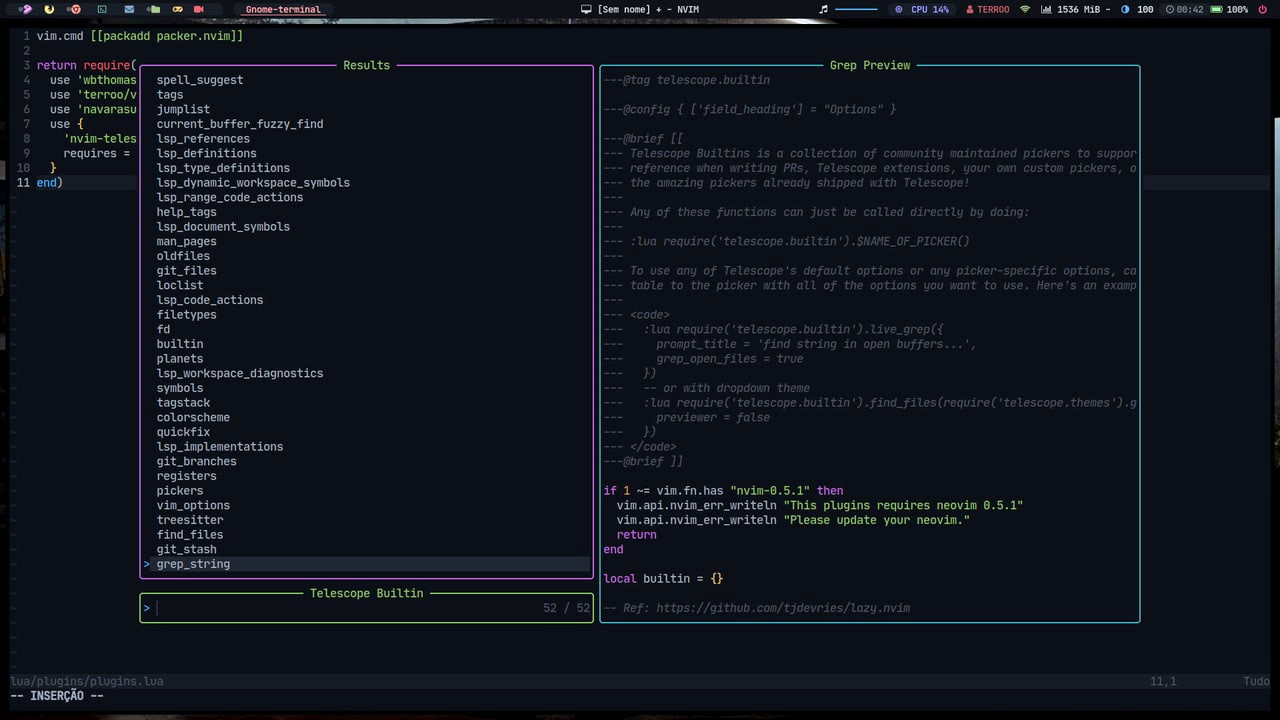
:TelescopeA “window” will open in the bottom combo you can type the name of the file you want to manipulate, for more details see the repository .
See the Telescope output below:
Mappings
To end this episode, I’ll leave the mapping file that I use every day. Create a file:
vim lua/configs/mappings.luaAnd insert this content inside:
-- Exit with 'q' , if using macro recording change to <C-q> → Ctrl + q
vim.cmd([[ map q :q<CR> ]])

-- To Save with 'Ctrl + S' in Normal, Insert and Visual modes
-- You need to add the line: stty -ixon , to your ~/.bashrc
vim.cmd([[ nnoremap <C-s> :w<CR> ]])
vim.cmd([[ inoremap <C-s> <Esc>:w<CR>l ]])
vim.cmd([[ vnoremap <C-s> <Esc>:w<CR> ]])

-- Select all with 'Ctrl + A'
vim.cmd([[ map <C-a> ggVG ]])

-- BASH - Auto fills .sh files that don't exist with SheBang
vim.cmd([[ autocmd BufNewFile *.sh :call append(0, '#!/usr/bin/env bash') ]])

-- If the C++ file with .cpp extension does not exist, fill it in as below
-- change to your preferred language(s)
vim.cmd([[
function! AutoCpp()
call append(0, '#include <iostream>')
call append(1, '')
call append(2, 'int main( int argc , char **argv ){')
call append(3, " std::cout << \"Hello World!\" << '\\n';")
call append(4, ' return 0;')
call append(5, '}')
call cursor(4, 17)
endfunction
autocmd BufNewFile *.cpp :call AutoCpp()
]])
Read the comments and change it any way you like, and then don’t forget to call it in your init.lua
require("configs.mappings")