1. Create a new file or directory using NERDTree
A lot of people don’t know, but it is possible to create files and directories directly through NERDTree.
With NERDTree open, position the cursor on the directory you want to create and press m, then press a and type the name of the file/directory, if you put a slash / at the end it will create a directory, if a file will not be created!
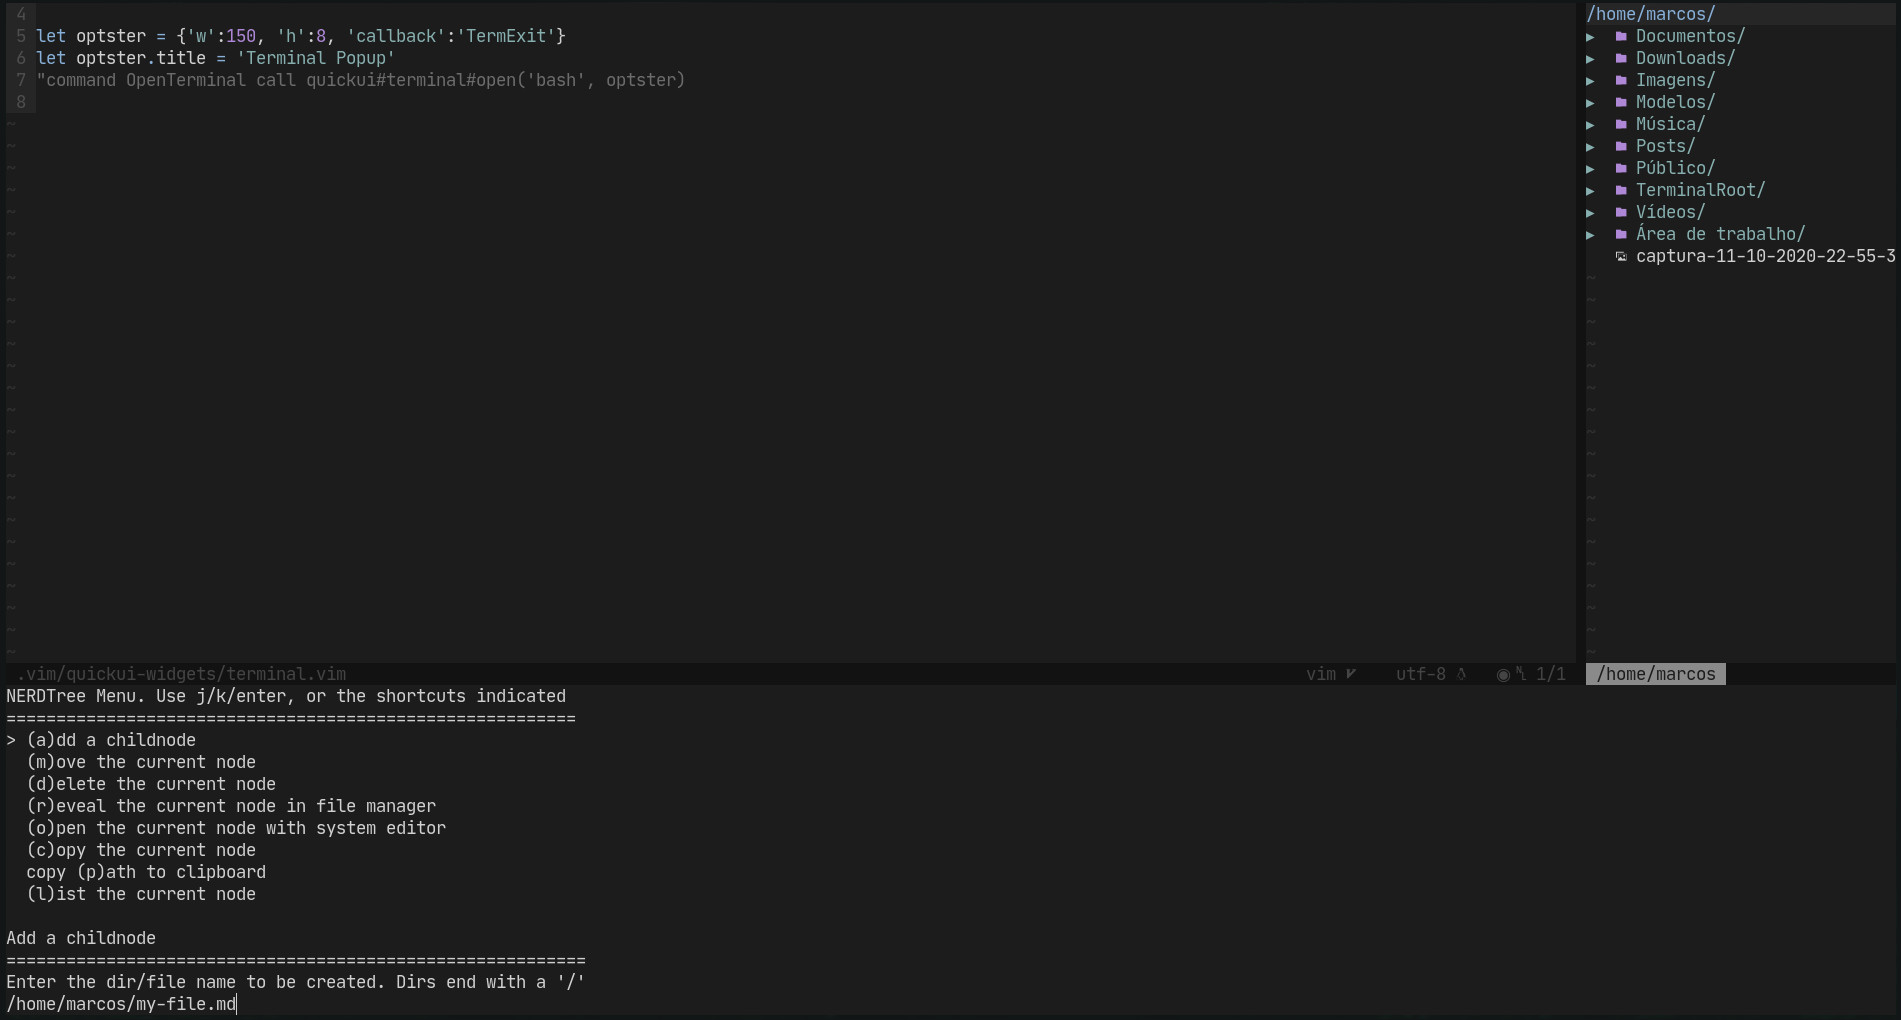
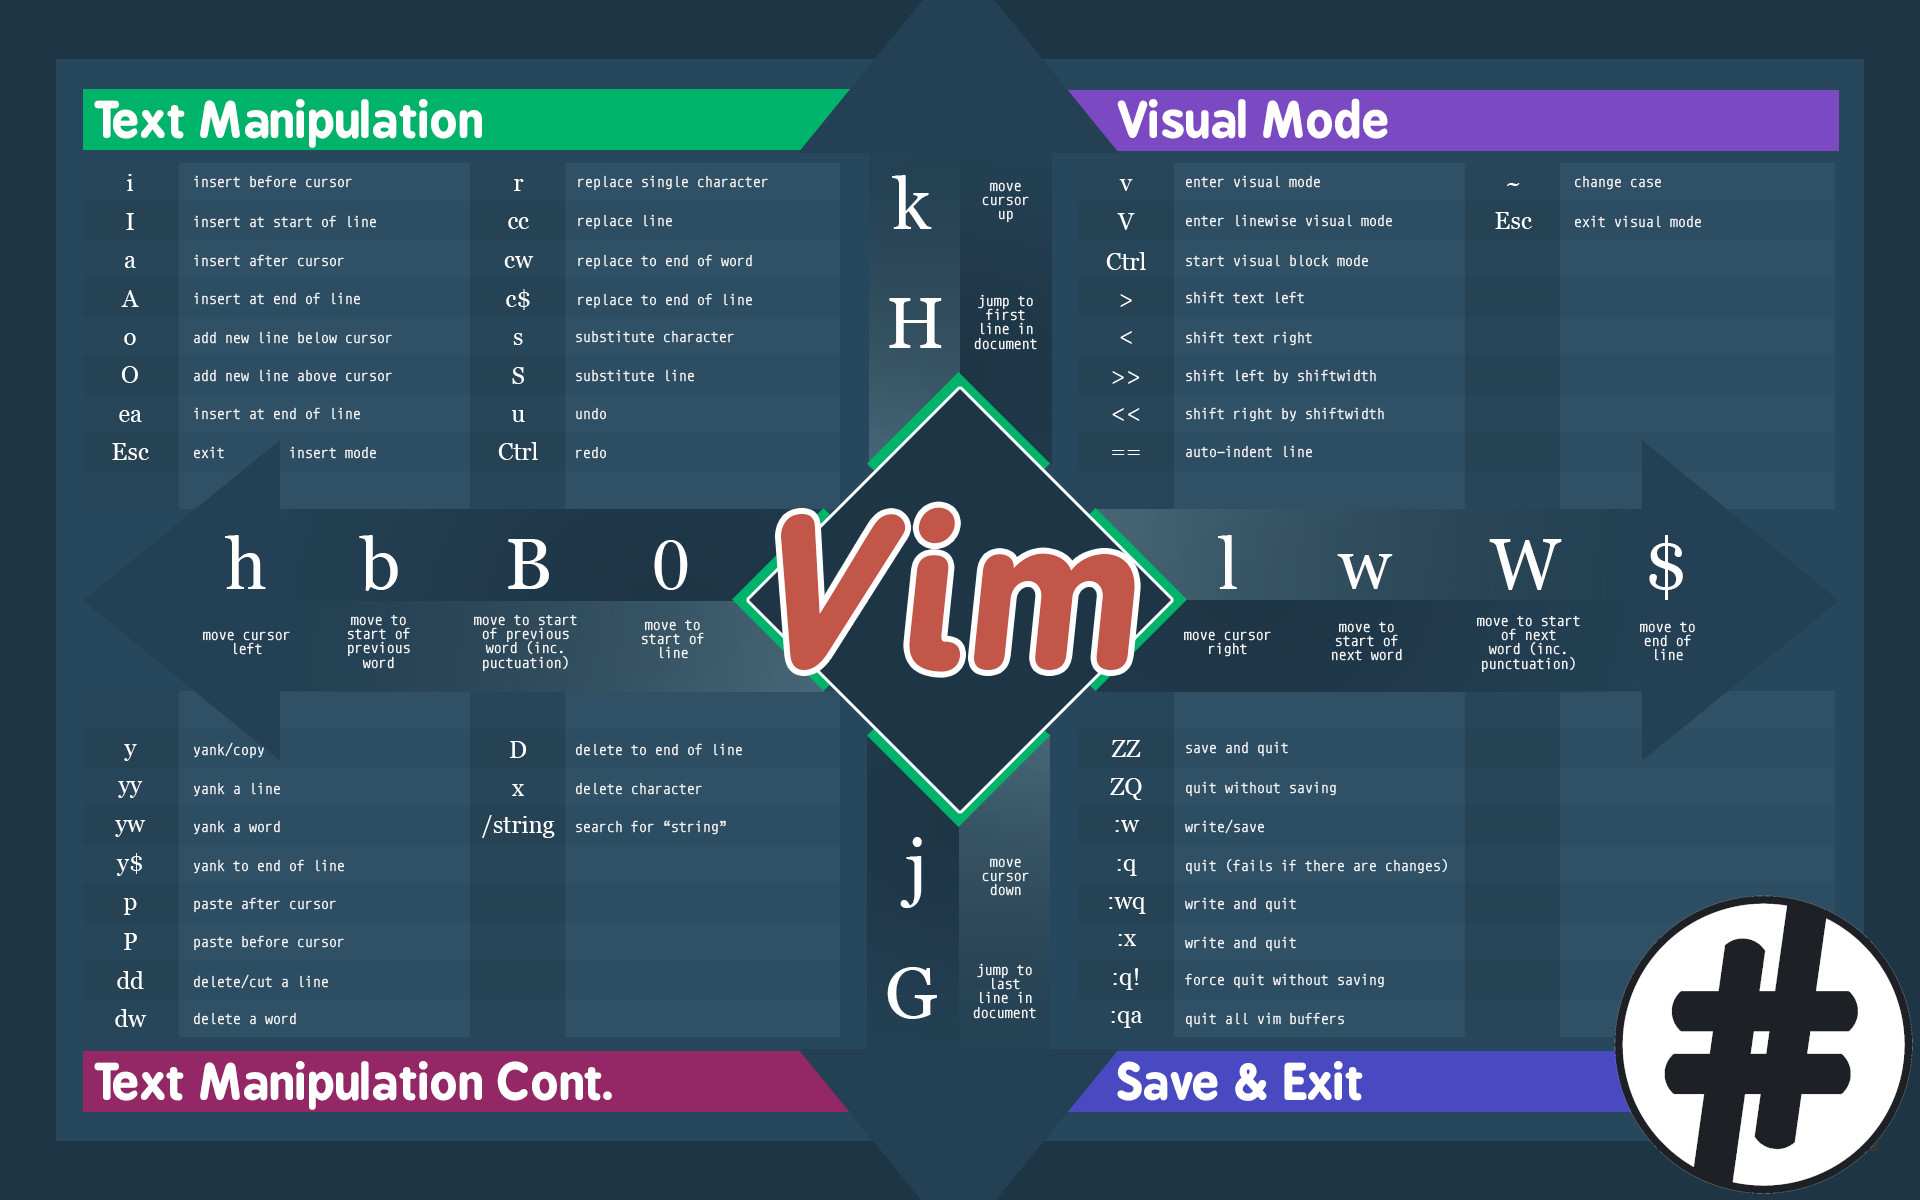
To cancel press ESC, to update NERDTree after creation press Shift + r and for other procedures read the menu as in the image above! 😃, cool, right ?!
2. SURROUND closing bracket
I use Vim.surround a lot to generate links in MarkDown and usually the word is already typed and that brought me some more work.
When you select a word, key S and then key [ it produces this: [ word ], that is, it creates a space between the brackets and the word, to avoid this, instead of using the opening bracket, use the closing bracket ] and it will produce: [word] (without spaces), to go to the end of the word just type W in command mode 🍺.
3. List autocomplete with Bullets.vim
Problems creating dynamic lists in Vim ?! No more, use Bullets.vim and let it autocomplete your lists for you:
4. Set mouse={a,n,i,c,v,h,r}
Do you like the ease of the mouse=a set, but also hate it 😡 when you select it in normal mode ??? Having to keep running the controller all the time is boring!
Use this function in your ~/.vimrc or in your ~/.config/nvim/init.vim and change the mode only by pressing F4
function! StatusMouse()
        if &mouse == 'a'
         set mouse=i
        else
         set mouse=a
        endif
endfunction
nnoremap <silent> <F4> <ESC>:call StatusMouse()<CR>
Simple and practical! 😃
5. TAB BUFFER no NERDTree
Let’s go again with another tip for NERDTree. Upset about the way NERDTree opens the file when you click directly on it? Force it to load the buffered file with this code:
nnoremap <C-q> :bp<cr>:bd #<cr>For more information see the NERDTree documentation: :h NERDTree
6. Simple and useful emojis
There are several options for automatically inserting emoji into Vim, but many of them also stress the amount of emojis.
So, to get around this problem I created Vim Simple Emoji. To install it use your favorite plugin manager, example:
Plugin 'terroo/vim-simple-emoji'And then run the command: :PluginInstall.
And to use, insert the emoji name between two points and press the [space] button and the emoji will be displayed at the cursor position. Example:
:smile:<space>This will result in: 😃
Want to know the name of all the available emojis? Run: :ShowEmoji. Some names have been modified to make them more peculiar, example: :linux : will display the penguin 🐧

7. Define the colors of your Vim your way
Want some cool colors for the background and front for your Vim? Define yourself! For the back alter the hex of the guibg value and for the front guifg, example:
highlight Normal guifg=#e0e0e0 guibg=#353945 gui=NONE ctermfg=250 ctermbg=235 cterm=NONEIf you want a dark or light background, use also: set bg=dark or set bg=light
Do you also want to highlight the current line? Easy, use: set cursorline. 😎
8. Your coolest vim-airline!
And to finish today’s tips, nothing like inserting a cool unicode in your vim-airline, add the symbol: ◉ the section bar:
let g:airline_section_z = '◉  % %l/%c'
These tips were created based on the questions that make me like: How did you do that in your Vim? . If you have a cool question, comment!
There are some videos that I created about Vim. However, they are in Brazilian Portuguese. But if you are interested in watching, follow the videos:
Implementing and Using Vim Quick UI
The 7 Best Plugins for your Vim
10 TIPS for You to Use VIM as a NINJA
10 Interesting Lines for your .vimrc - VIM
How to Make Your VIM So! Spacevim: Installation and Configuration