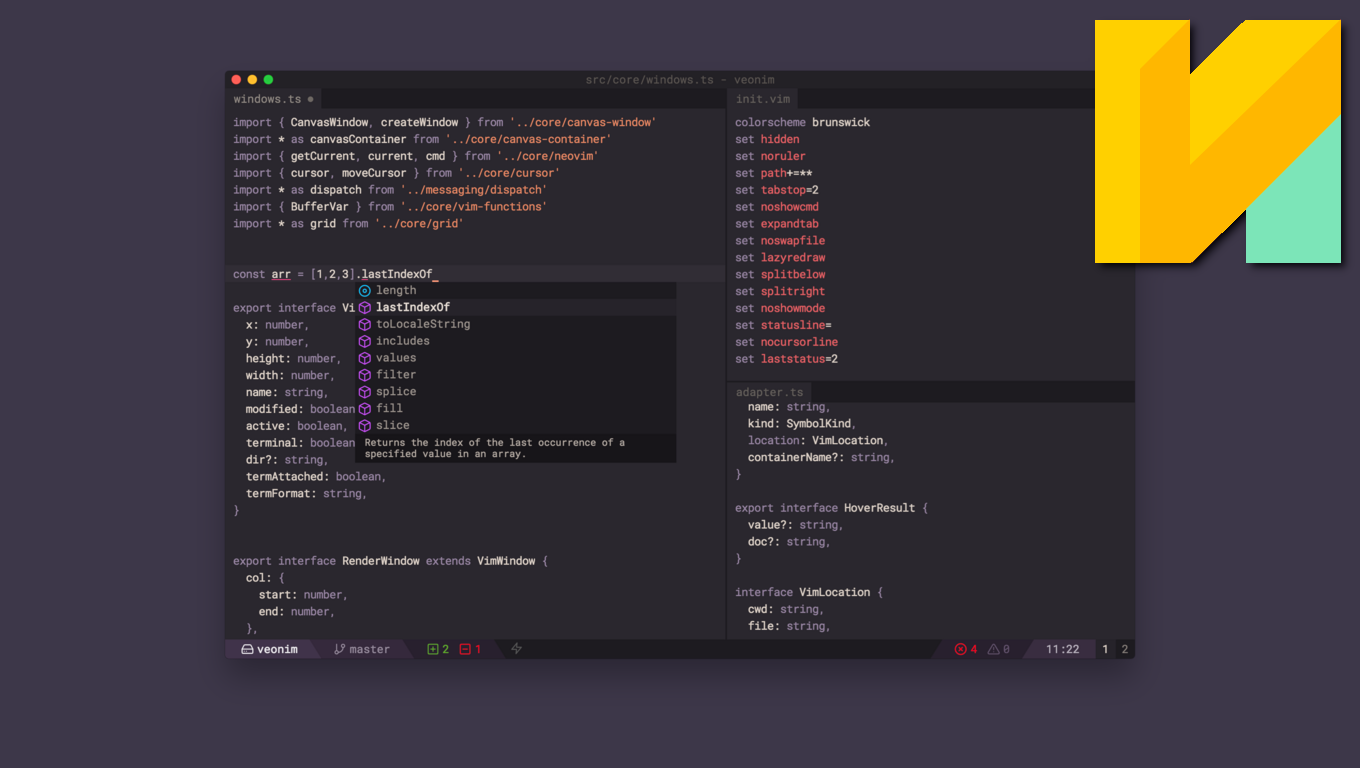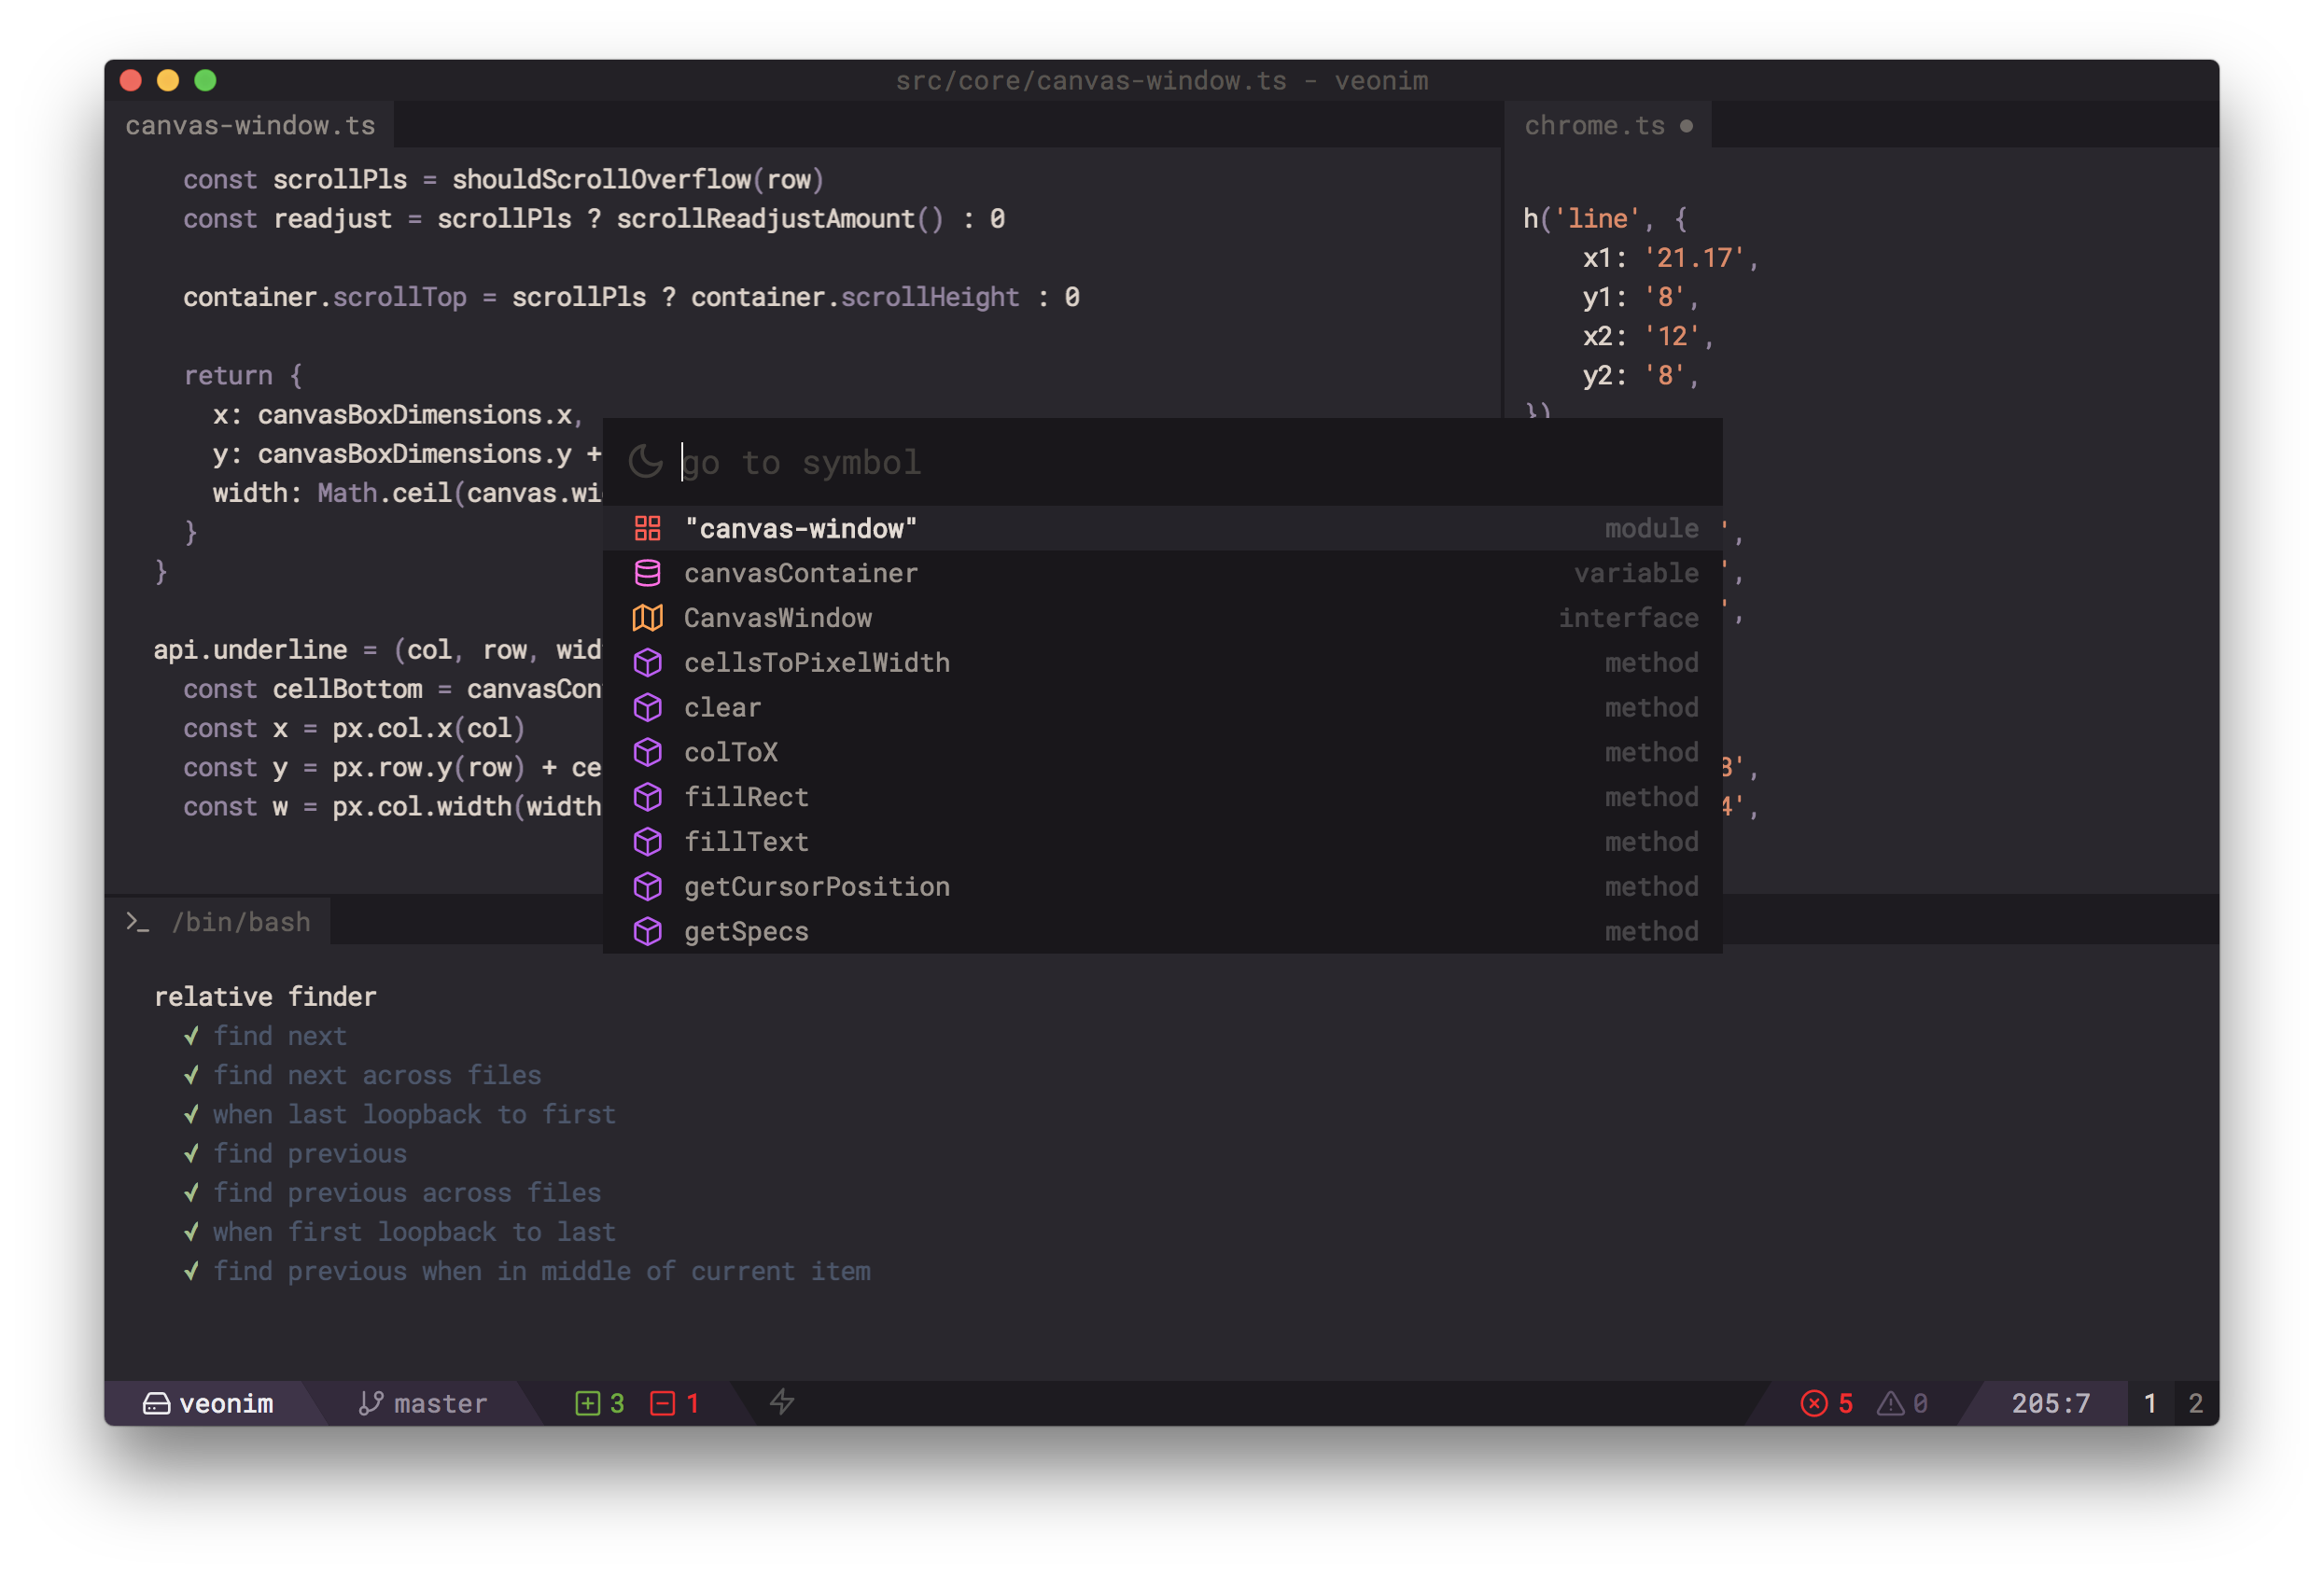
Veonim is a simple modal IDE built with Neovim and VSCode extensions. The goal is to create my ideal programming environment.
Resources:
- Support for VSCode extensions (work in progress, but can be tested today at 0.22.0+)
- Aims to be 100% compatible with Neovim
- All vimrc configuration with vimscript/Lua/remote plugins
- All Veonim features are accepted. Use as many or as few IDE resources as you want and customize your workflow.
- Fuzzy search files, buffers, buffer text, project text search (powered by ripgrep)
- Multiple simultaneous instances of Neovim (such as tmux sessions)
- Fully keyboard driven (no mouse support)
- But wait, there’s more! See the User’s Guide.
Putting Veonim to work
First you will need to have nodejs, npm and Git installed on your system, examples:
emerge nodejs git # Gentoo, Funtoo, ...
sudo apt install nodejs npm git # Ubuntu, Debian, Mint, ...
sudo pacman -S nodejs npm git # Arch, Manjaro, ...
sudo dnf install nodejs npm git # Fedora
After this it is necessary to clone Veonim
git clone https://github.com/veonim/veonimNext step is to enter directory and install dependencies via npm
cd veonim/
npm i
Okay, now you can run Veonim, but this is not the most recommended way to use, and being too slow, the settings you set will be lost. This procedure is just to see if everything is right.
npm startInstalling on your system
Still inside the Veonim directory, run the command:
npm run buildNow let’s build his binary:
If you want, first test with the command:
npm run start:release
npm run packageThe binary will be ready in the directory: ./dist/ . So let’s install it in a system directory:
sudo install dist/veonim*.AppImage /usr/local/bin/veonim
Now let’s make it visible to Dashboard and Launcher, run the commands:
Setting the default software icon
sudo cp art/icon.png /usr/share/pixmaps/veonim.pngAnd we create the call file:
echo -e "[Desktop Entry]\nType=Application\nEncoding=UTF-8\nName=VeoNim\nIcon=veonim\nTerminal=false\nExec=veonim\nCategories=Development;" | sudo tee -a /usr/share/applications/veonim.desktopNow just look for Veonim in Dash, Laucher, or run via terminal to open it:
veonim
Using Veonim
- Set font size (Example if it’s Fantasque):
set guifont=SF\ FantasqueSansMono-Regular:h16 - Use file explorer:
:Veonim explorer - Using Fuzzer file finder:
:Veonim files
And many more commands and tips you can find on Veonim’s GitHub homepage:
https://github.com/veonim/veonim/
Also see the user guide for using your personal settings:
https://github.com/veonim/veonim/blob/master/docs/readme.md
Thanks!


