CMake is a system to automate compilation tasks of code files created in C and C++.
On Unix type systems we can say that it is a “Makefile” generator. He is classified as a SCons.
We already made a brief introduction here on the blog about CMake, but it is also possible to generate Makefiles in Windows, although CMake also generates files for Visual Studio.
Today we will see how to install CMake on Windows.
Dependencies
As in this example we will use GCC, it is important that you have it installed on your Windows via MinGW, see here how to do it.
Now let’s go step by step!
Installation
01. Download CMake by clicking the button below:
Download CMake for Windows 64-bit
After downloading, double-click on the downloaded file: cmake-3.26.0-rc6-windows-x86_64.msi and give administrator permissions to start the installation setup.
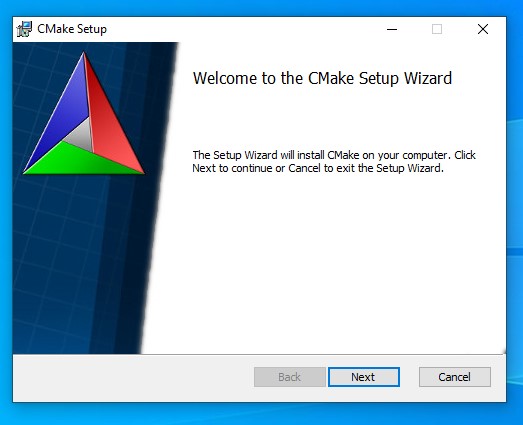
02. Setup presentation
Just click on
Next.
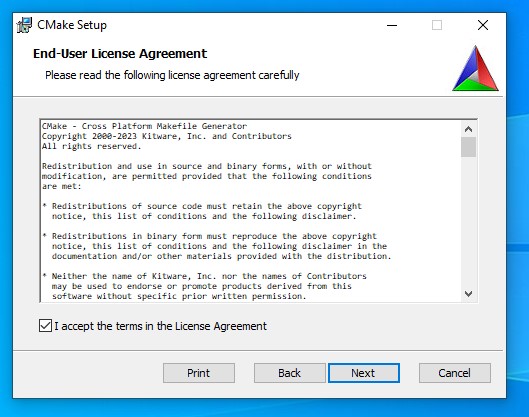
03. Accept the license terms
And then click
Next.
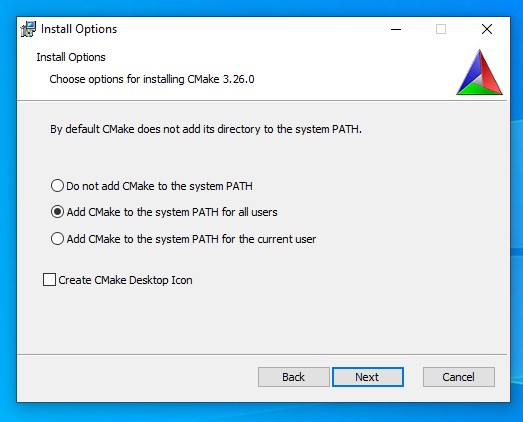
04. Add CMake to your PATH
Check the Add CMake to the system PATH for all users option for the command to be available to all system users. And then click on Next.
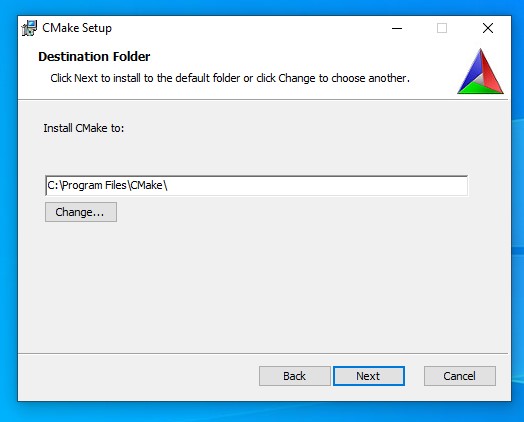
05. Select installation path
Hint: Keep what already appears and click
Next.
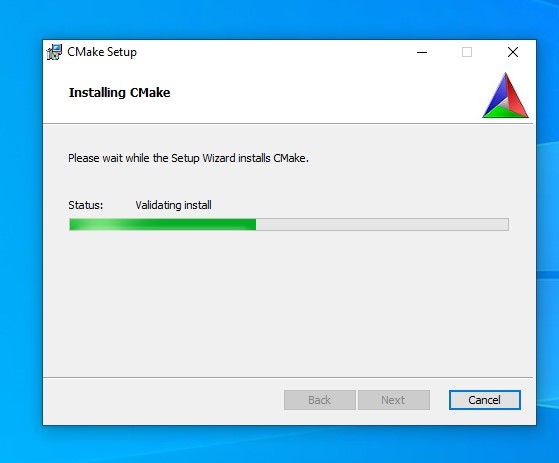
06. Start the installation
Click on Install and wait for the installation to finish.

Installing:
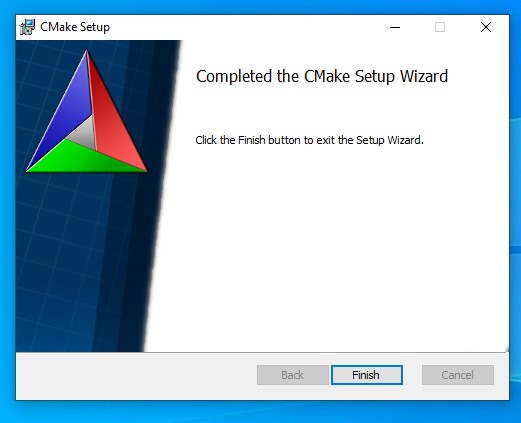
Once finished, click on
Finish:
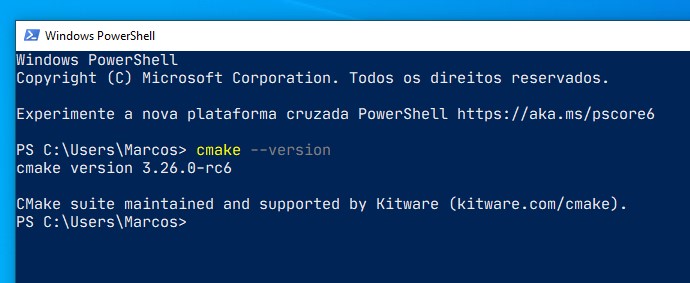
Testing CMake
Open PowerShell or CMD and type the command:
cmake --versionIf the output is similar to the image below, everything is right and installed perfectly:
Compiling with CMake
-
Create a folder, for example
MyProject, enter it (by CMD or PowerShell,cd MyProject) and inside it do: -
Create a file named
CMakeLists.txtwith your Preferred Code Editor or IDE and fill it with the code below:
cmake_minimum_required(VERSION 3.10)
project(HelloWorld)
add_executable(hello main.cpp)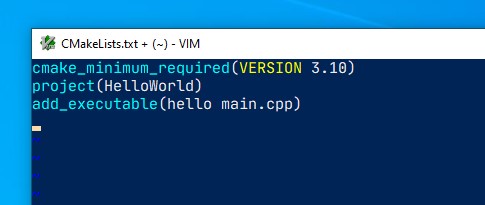
- Also create a
main.cppfile with a basic code, example:
#include <iostream>

auto main(int argc, char** argv) -> int {
   std::printf("CMake is working on Windows!\n");
   return EXIT_SUCCESS;
}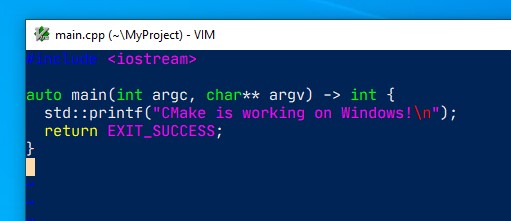
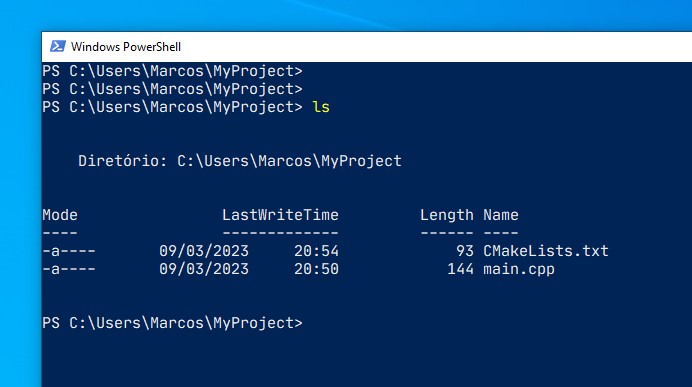
At the end your MyProject folder will have 2 files: CMakeLists.txt and main.cpp as shown in the image below:
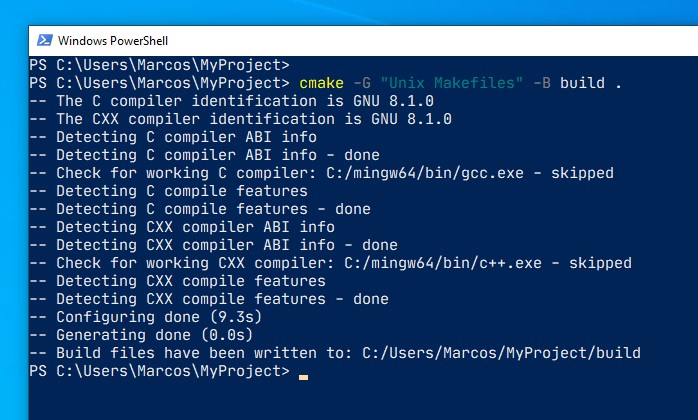
- Now run the command:
cmake -G "Unix Makefiles" -B buildIt will create a folder called
buildinside your project. If you don’t say-G "Unix Makefiles"it will prepare files for Visual Studio, in which case we want a Unix-like Makefile.
The output will be similar to the image below:
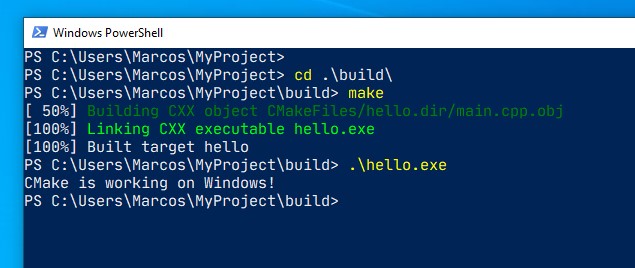
- Once finished, enter the build folder (
cd build) and run themakecommand (if this command does not exist, it is because you did not rename the MinGW file to that name as mentioned in the article about MinGW cited above, then most likely the command will bemingw32-make). And then run the final binary:hello:
That’s it, now you can compile your C and C++ code with CMake!