1º - It is interesting to create the partitions previously.
That is, already have a partition already created and formatted perferencia in a file system that identifies the partition, however, you can be able to distinguish it through the CHS.
2º - Boot usually by USB disk or OpenBSD CD
3º - Perform the installation normally until you reach the select part that informs the contents:
Use (W) hole disk MBR, whole disk (G) PT or (E) dit? [whole]Do not press [ENTER] because the system will erase the hard disk and use the ** OpenBSD ** label for full size. Enter the letter e for Edit.
Before you notice in the description of the partitions that it shows the partitions that are already created, you can identify which partition you want to use analyzing data like:
size;startand others.
4 Now select the partition you want (see the partition number, noting the first column).
Let’s suppose we’re going to install OpenBSD that has the largest partition size, so the command would be: e 0
If in doubt, type
helpfor more information. Remember that the lettereis the same as theeditcommand, that is, it is an abbreviation:edit 0. Like: h (help), w (write), q (quit), …
5º - Now it is necessary to inform the id of the partition
The ID for the OpenBSD label is the a6 or A6, to know all the identifiers, you can type the interrogation symbol **? **. If your keyboard is unconfigured, the interrogation symbol is usually [Shift +;] (hold Shift and press the semicolon key).
6º - Now it will ask if you want to edit CHS (Cylindres, Heads, Sectors):
Do you want to edit in CHS mode? [n]In this case, just accept the default that he proposed [n], that is, just press [ENTER] and accept the already defined sizes of the partition, unless you want to change size and CHS.
Now, just press the letter w (write) and if you want to see how changes were made press p (print) and then q (quit) to exit.
7º - It’s time to create the partition layout.
Remember that by default OpenBSD will create multiple partitions, and can split it into up to 16 partitions depending on the size of your HD. But if you want, you can create a layout similar to Linux:
- 1 - Partition SWAP
- 2 - ROOT partition (the system files will be installed)
To do this press c (Custom Layout), if you just press [ENTER] without typing the letter c, it will accept the pattern defined in brackets that is [a] (Auto layout).
8º - Now press p to show how the division * is really up.
Remembering that the letter ** c ** represents the HD and not a partition, and if there is already another letter, probably the letter ** i **, that is the size available to partition.
So let’s create the root partition, just type the a (add) and OpenBSD will automatically ask you if you want to create the letter partition a (not to be confused with a add, between the brackets it informs the name / letter of the partition), usually root is the letter a, just press [ENTER].
Offset will be standard even, just press [ENTER], already in size inform a size of shape that is for SWAP, example: If size is 42000000 42GB, and you want to reserve 2G for SWAP, type : 40000000, this way 2GB will be left for SWAP.
The FS TYPE should be 4.2BSD even if it is enclosed in brackets, just press [ENTER]. And mount point must be root /, if your keyboard is unconfigured, the slash (/) is usually ; (semicolon, without the Shift =) ).
Okay, we set the root partition.
9º - Next step is to create the SWAP partition:
- Type
aagain; - Accept the letter
bin brackets, just press [ENTER]; - The offset is default, press [ENTER];
- The size will show the rest of the remaining size, the size will appear in brackets, just press [ENTER];
- And finally FS Type will be swap, which will appear in brackets, ie, again just press [ENTER];
10º - Ready, now press the letter w (write) to save the changes.
If you want to see the layout after the changes, press the letter p and to exit and continue the installation press the letter q and then [ENTER]. logical! =)
Continue the installation as in this video.
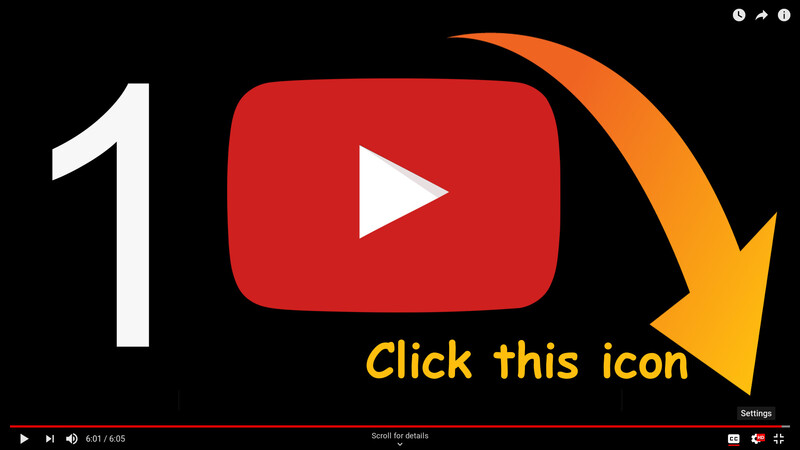
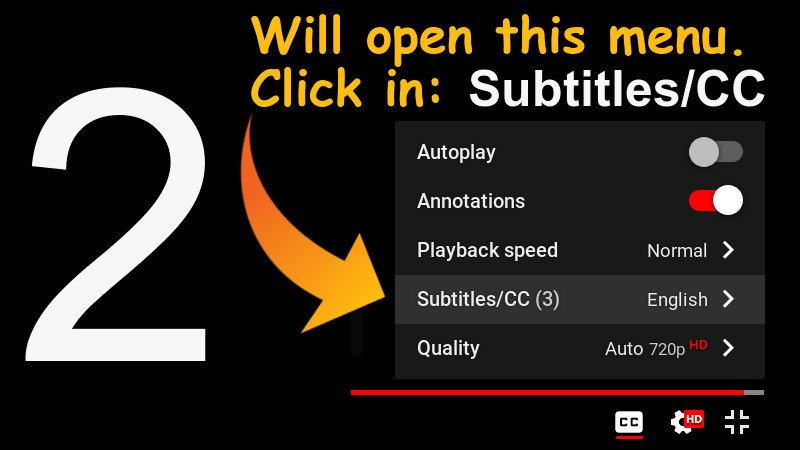
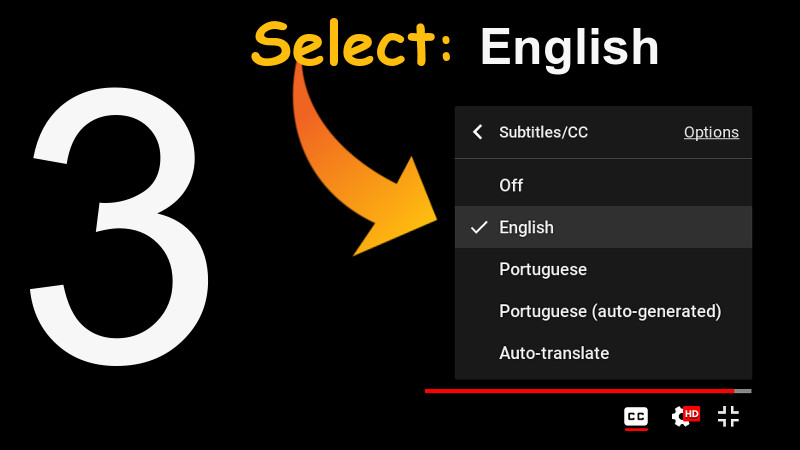
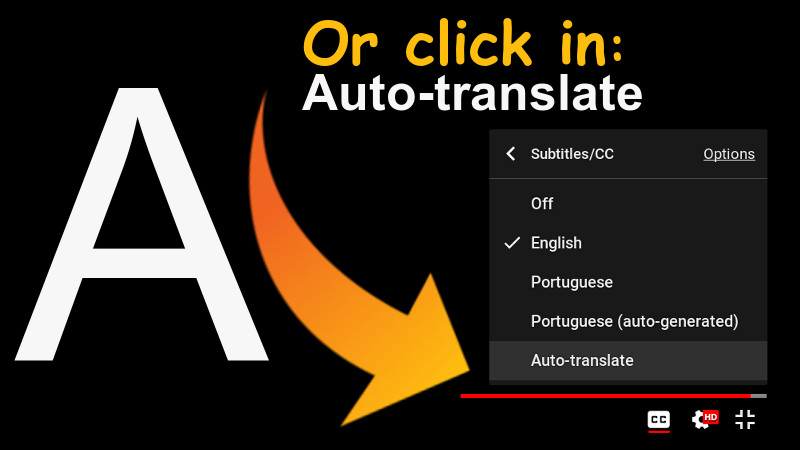
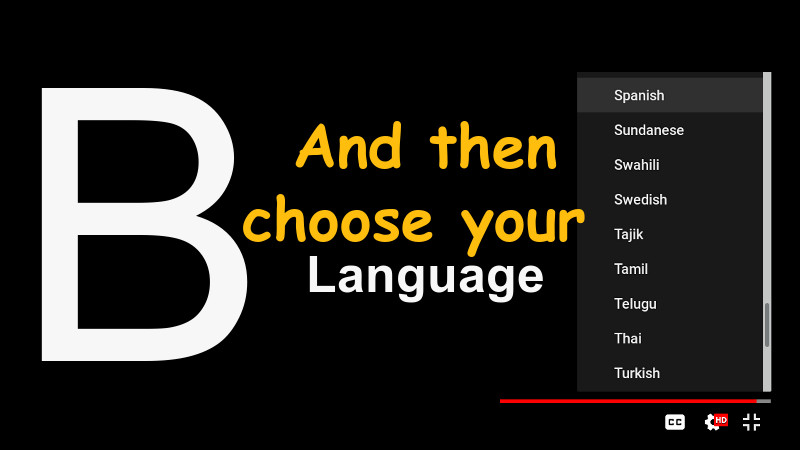
The video has English subtitles native to the video itself and with the correct translation. To enable, use the settings in the footer of the video itself, according to the images shown here below.
CLICK ON IMAGES TO VIEW INTO LARGER RESOLUTION.