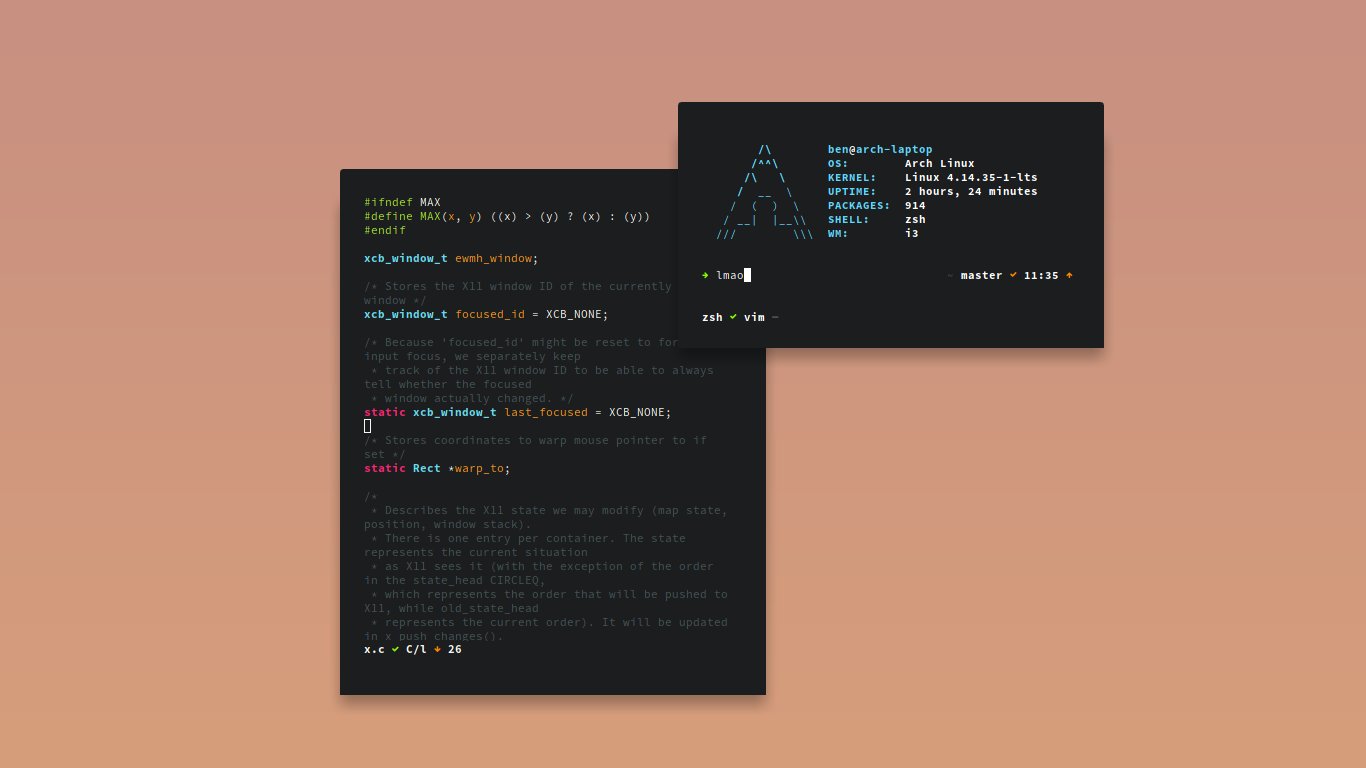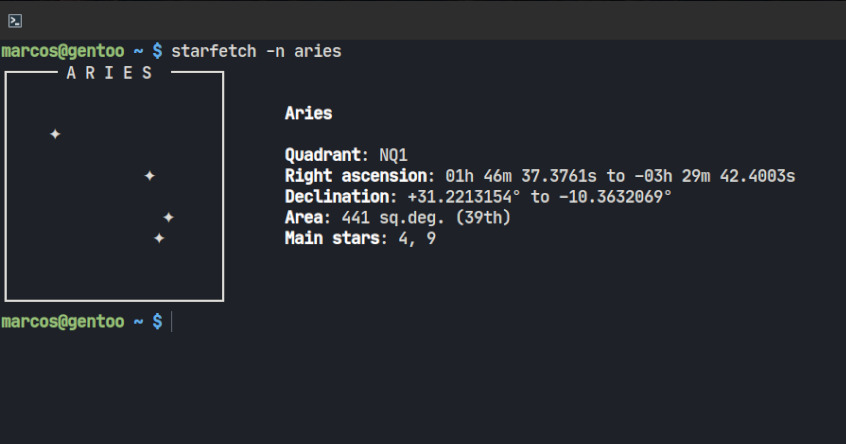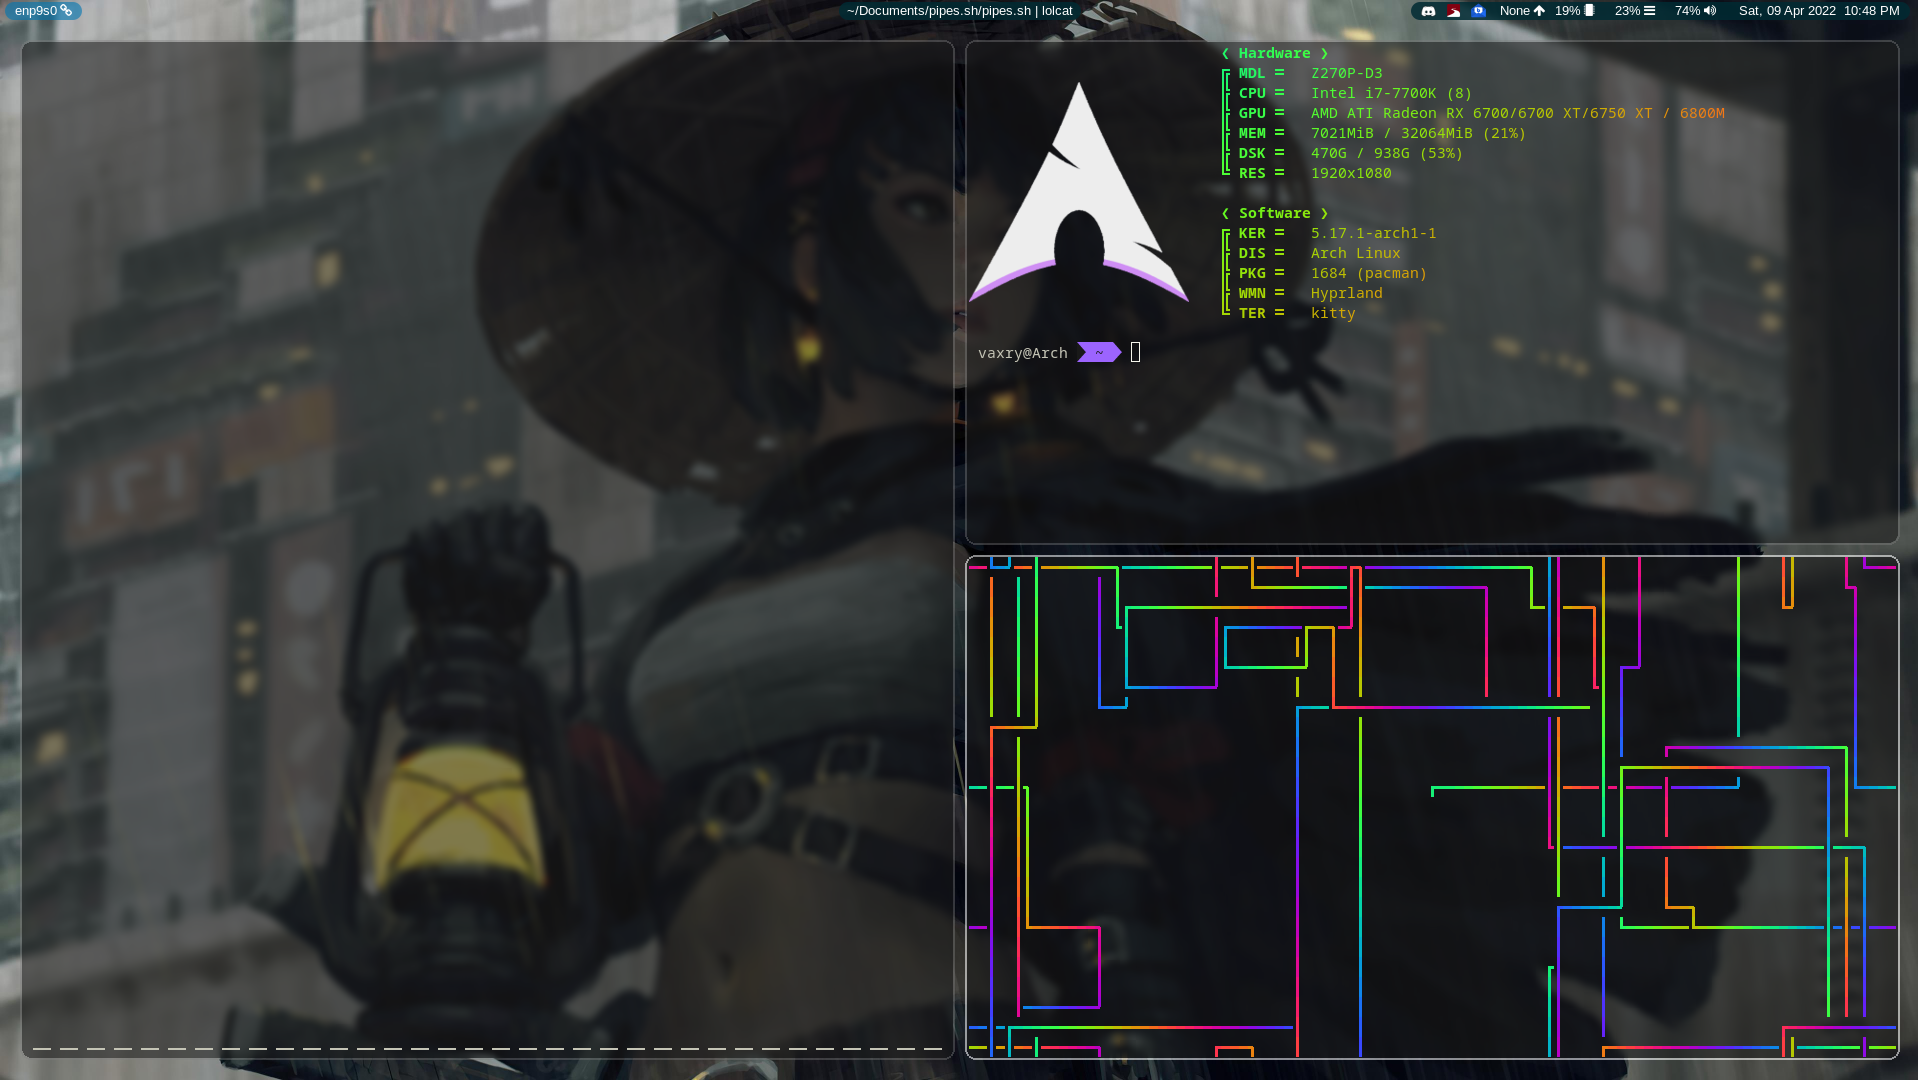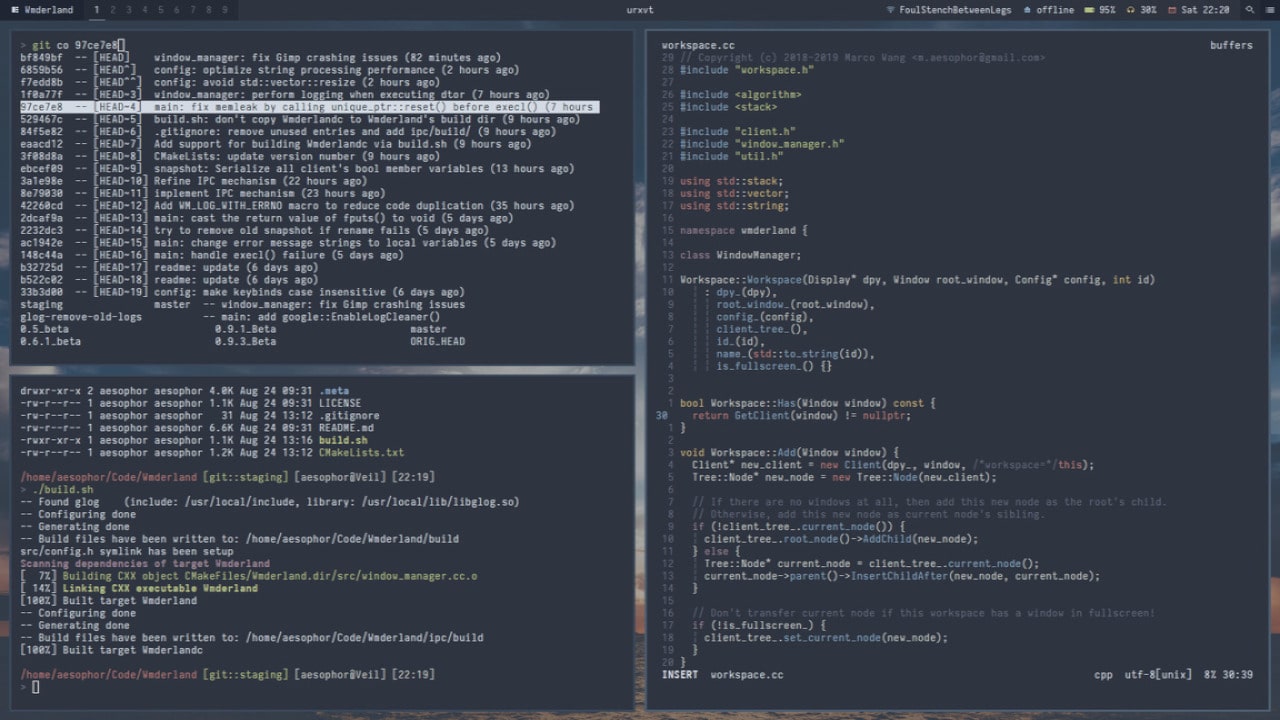
i3wm is very well written software. It consumes very few computer resources and has no instability.
It combines minimalism, elegance and functionality in a responsible way. His official address on GitHub is https://github.com/i3/i3 and official page https://i3wm.org/. It was written in Language C by Michael Stapelberg and a list of contributors, as it is an Open Source project.
Then the Airblader user forked the project and modified and added some files to generate the possibility of i3wm having gaps / spaces between windows, similar to bspwm and called this modification i3-gaps.
Finally, another GitHub user, Ben Friesn, a.k.a resloved, forked the i3-gaps and added features that make the edges of the i3-gaps round.
In none of the situations, there was no addition of a pull request, that is, the forks changes were not accepted in the fork projects.
There was even an acceptance by Airblader of the changes requested by the resloved, but it was temporary and soon after the accepted pulls were removed. You can see it here in this issue: https://github.com/resloved/i3/pull/3.
But in this world of acceptance, change, warnings,… and blah blah blah! A lot has been and can be lost, even facilities that I noticed have been removed.
Attentive to all these changes, alterations and removals. I saw the possibility that some things might not be found anymore. Thinking about it I forged the resloved modifications and recovered a commit that I had seen that was removed that had a very nice pre-built build and from that fork of mine we are going to install the i3-gaps with rounded edges that I lovingly 😍️ rename of i3-radius.
In short, my fork has nothing different from the resloved, until the date of this publication, I only recovered the build.sh which makes it easier for users who still don’t know so much about the subject.
Introduction
To start, it is highly recommended that you already have i3wm installed, as it will make it easier to resolve dependencies at Runtime. It is available in most (or all) or repositories of the package managers of Linux distributions.
Remembering that these changes, as they are, do not work in BSD.
But if you haven’t installed it yet, install:
emerge i3 # Gentoo, Funtoo,...
sudo apt install i3wm # Debian, Ubuntu, Linux Mint,...
sudo pacman -S i3wm # Arch Linux, Manjaro,...
sudo yum install i3wm # Red Hat, CentOS, Fedora(dnf)
In some managers it may be with the name i3 only, use
searchto confirm.
After that, you need the Compilation Time dependencies, if you have Gentoo or Funtoo, skip this part, as they are specialized systems in software construction and you already have all the tools installed.
But if your distro uses binary packages and you have never compiled anything on it, you will probably need to install these dependencies, in short they would be CMake, Autotools and GNU GCC.
In most distributions there is a package called build-essential that installs several tools at once, but to confirm, check the build-time dependencies at this link: https://build.i3wm.org/docs/hacking-howto.html
Installation
After all the necessary steps above, now let’s get down to business and build, in the literal sense of the word! :)
1 - Clone the repository:
git clone https://github.com/terroo/i3-radiusBefore proceeding, make sure the path where your i3wm is installed: which i3, you could choose the installation path, but to make it easier, I renamed your i3, example: sudo mv "$(which i3)" "$(which i3)_original".
In other words, if i3 was on the way: /usr/bin/i3, now it has been renamed to /usr/bin/i3_original, this in addition to being easily reversed, avoids some conflicts.
2 - Enter the directory and run build.sh
cd i3-radius && sh build.shAt the end, it will ask for your sudo password to run the install.
Settings
Now for your i3wm to have spaces and round borders, you need to add these lines to your vim ~/.config/i3/config
##### i3-gaps ##############
for_window [class=".*"] border pixel 2 #*
gaps inner 10
gaps outer 1
#gaps horizontal 2

################# i3-radius #######################
smart_borders on
smart_borders no_gaps
border_radius 2
The line for border_radius 2 defines the curvature of the border, it will be very light, but if you want it to be really rounded, increase the value, example: border_radius 3. Use 2, as it looks more elegant. 😁️ .
Useful links
- https://en.terminalroot.com.br/how-to-customize-your-linux-mint-with-i3-polybar-rofi/
- https://github.com/i3/i3
- https://github.com/Airblader
- https://github.com/resloved
- https://github.com/resloved/i3/pull/3
- https://github.com/terroo/i3-radius
- https://github.com/terroo/i3-radius/blob/shape/build.sh
- https://cmake.org
- https://build.i3wm.org/docs/hacking-howto.html
- https://github.com/terroo/i3-radius
- <Font image: https://www.reddit.com/r/unixporn/comments/8i8ik6/i3gaps_hacky_i3_rounded_titlebar/>


